
Whether you’re setting up a brand-new NAS (network-attached storage) or upgrading an old one, unboxing a high-capacity hard drive is an exciting time. Just think of all the data that you’ll soon be able to store on that thing.
It can be tempting to slide that shiny new 16TB mechanical monster into your NAS straight away and start dumping your precious files onto it. But that wouldn’t be the wise thing to do. Instead, it’s time to make sure that drive is up to the job.
Why out-of-the-box hard drives can fail
Factory checks are insufficient
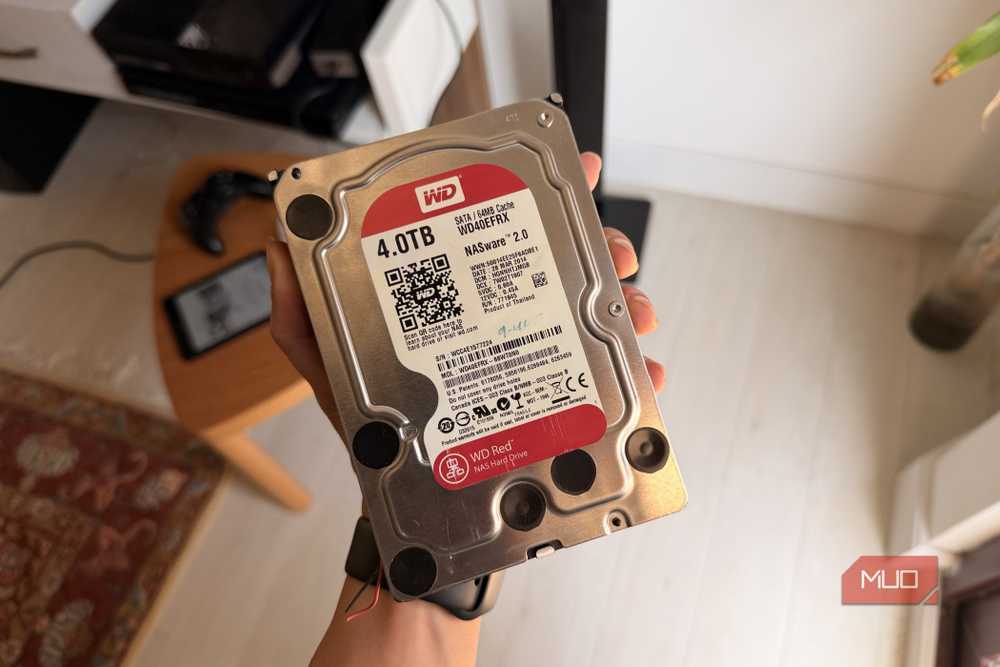
Installing a brand-new drive into your NAS right out of the box is a gamble that you don’t need to take. Many mechanical hard drives fail eventually, but you might be surprised how many do it within a few hours of being plugged in—not 10 years down the line, as you might expect. That’s why you should test the drive before it goes anywhere near your NAS, because you can’t assume it was properly checked before leaving the factory.
Most people assume any drive that arrives in a sealed anti-static bag is fresh from the factory and went through stringent quality control before shipping. But while drives are checked, manufacturers don’t stress-test every platter or read-write head extensively. And even if they did, they can’t control what happens to the drive once it leaves their facility. Hard drives have incredibly small, precise components and are notoriously easy to damage in transit, even if they look pristine on the outside.
Fast forward to the drive being installed in your NAS, weeks, months, or even years after it left the factory. Your NAS will probably begin rebuilding its storage pool, and this is where the rubber meets the road. A drive that hasn’t been used in anger is suddenly placed under stress for the first time — and possibly for a number of hours before the process is completed. It’s at this point that any issue with that hard drive presents itself. Any mechanical flaw or weak sectors will likely fail at the worst time, just as your NAS moves gigabytes and terabytes of data around.
Thankfully, most of this can be avoided. You have no control over the state that hard drive is in when it lands on your doorstep, but you do have control over what happens next. And the next step should always be a thorough test to make sure the drive is ready for prime time.
The ultimate burn-in test
Checking every sector one by one
There are a few different warning signs that your hard drive is about to fail, but they’re no use if you’re dealing with a brand-new unit. Thankfully, there are some tools that you can use to put a new hard drive through its paces before your data ever touches it.
The most definitive test you can use is a destructive badblocks scan paired with a full S.M.A.R.T. test. This two-stage process forces the drive to read and write across every last bit of space available to it in an attempt to reveal any physical defect that could later put your data at risk.
Badblocks needs to be run in destructive write mode using the badblocks -wsv command to make the most of the test. This mode writes four distinct bit patterns across the entire surface of the hard drive and then reads each pattern back to confirm its accuracy. Unfortunately, on modern drives with multiple terabytes of capacity, this can take a considerable amount of time. Expect to wait days, rather than hours, but it’s worth every minute. This long-running, high-workload test is designed to really put the drive through the wringer to identify any underlying physical hardware issues.
Once the badblocks test has completed, it’s time to run an extended S.M.A.R.T. test using the smartctl -t long command. This test tells the drive’s onboard firmware to scan its own platters and sensors. Any uncorrectable errors or sector shenanigans will be highlighted in the results.
Don’t fall into the impatience trap
Run better tests to be safe
Waiting days to install your new hard drive doesn’t sound like a fun time, and it can be a pain if you need that extra space as soon as possible. It’s easy to convince yourself that, since the drive is new and from a reputable brand, it’ll be fine. And it may well be. But it may not, and you’ve no way of knowing without testing it.
A full burn-in test removes the uncertainty with new hardware, and if it’s going to fail, it’s always better for it to do so before you fill it with data. These tests give you the peace of mind you’d otherwise miss out on, while protecting your data from being lost in the process.