
Replacing my aging Intel MacBook Pro was long overdue; however, I wasn’t quite ready to retire my faithful old device completely. Instead of leaving it gathering dust, I decided to turn it into a home server.
I already use Docker for running self-hosted applications, so repurposing my MacBook seemed like a practical way to experiment without buying another computer or investing in an expensive NAS. It turned out that two relatively straightforward Docker applications were enough to get me started.
Docker did much of the heavy lifting
It made turning my MacBook into a server surprisingly easy
I initially wanted two things from my server: a convenient way to access my media collection and a way to synchronize files between my Macs without relying on cloud storage. I could have used a fresh Linux installation, but for this project I decided to keep things simple and used its existing macOS Sequoia installation.
I already had Docker Desktop installed on my old Mac, which made things much easier, since I can run applications in containers within the app, separate from the host operating system. I created a dedicated HomeServer directory to organize application configurations, data, and Compose files, making it easier to manage individual services while keeping everything tidy in one location.
Before configuring Docker, I reviewed my files and removed any “dead wood,” starting with large files and apps I wouldn’t use on the server. This gave it plenty of extra headroom for storage and performance, so it would start its new role with a clean slate.
Jellyfin and Tailscale turned my old MacBook into a remote media server
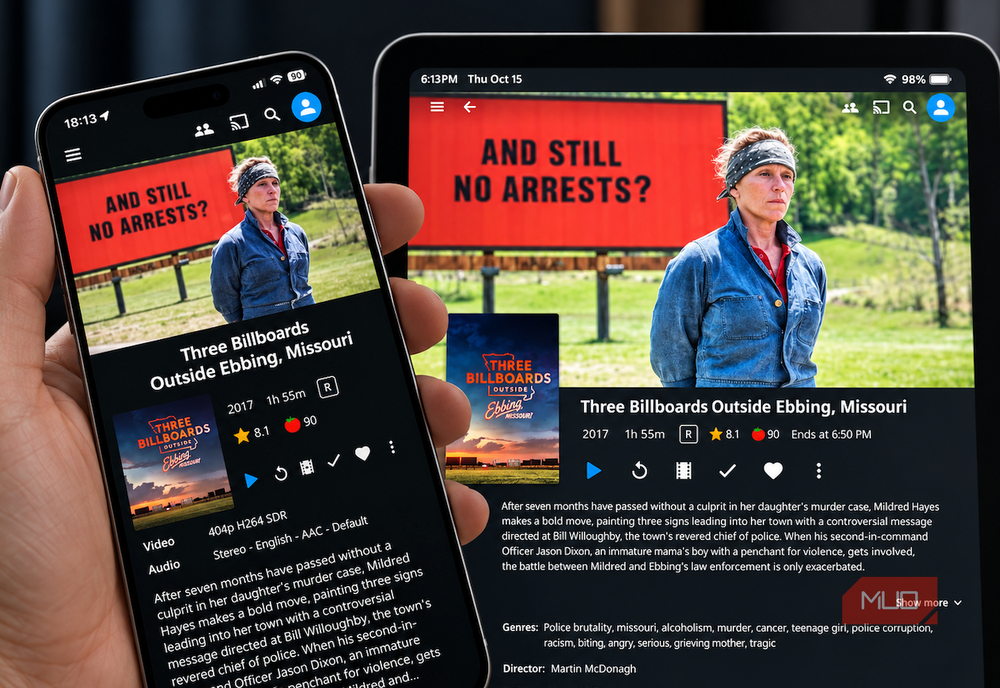
I wanted to access all my movies and TV shows whenever I’m away from home, and Jellyfin was the obvious choice because it’s my preferred media player that works seamlessly across my devices.
I installed Jellyfin using Docker Compose and connected it to my existing Seagate external hard drive. This matters because I don’t want my MacBook’s limited storage to fill up with hundreds of gigabytes of media files.
I mounted my Movies and TV folders inside the container, then added those locations to Jellyfin’s library settings. After a minute or two, all my titles appeared, complete with artwork and metadata, and organized into categories.
Now I could access the library through a browser or Jellyfin client on my other devices. All that was left was to download Tailscale onto both my server and those devices, which creates a private, encrypted network that lets me connect to the server remotely from any location with an internet connection.
File management came next
Syncthing gave my MacBook a useful productivity role

Now that entertainment was taken care of, it was time to turn my attention to my everyday work. Syncthing is an open-source file synchronization tool for direct file exchange with no third-party tools or cloud storage required.
I installed Syncthing in another Docker container and configured it to share files with my new MacBook Air. Setup was as straightforward as adding the shared device, setting a password, and connecting it with its unique device ID. I then created a “Shared” folder on the server and added my MUO article folders. Those files now synchronize automatically between the two computers.
I can now work on my shared files on one Mac and have them automatically update on the other. I can also use Tailscale to sync them remotely, and I enabled file versioning on the server, which retains older versions of changed or deleted files. While this isn’t a complete backup solution, it adds an extra layer of security and convenience.
This isn’t a perfect solution
There are a few drawbacks when using an older computer
Turning an aging computer into a server isn’t an ideal solution for everyone. For starters, my antiquated MacBook draws much more electricity than a new dedicated NAS, and leaving it running continuously puts a lot of strain on the laptop’s cooling system and battery.
I installed the Amphetamine app to stop my computer from going to sleep when idle for continuous operation. Importantly, I keep it in an upright laptop stand on my desk to ensure plenty of air circulates around it, and I check on it when running demanding tasks.
There’s also the RAM issue. While this doesn’t apply to all older computers, many, including mine, will struggle to run multiple applications at once. External hard drives also introduce another potential point of failure, with mine seemingly disconnecting of its own free will on occasion. And then there’s Docker and macOS, which themselves need maintenance from time to time.
Yet for my own purposes of file management and media playback, with the occasional use of Immich to back up images from Google Photos, this setup suits me fine. I’m not trying to build a data center; I’m just running a few familiar applications for everyday use.
My old MacBook has found a new purpose
I’ve been pleasantly surprised at how much I’ve got to do with my old laptop, and I may just be scratching the surface. Right now, I use Jellyfin and Tailscale to access my media collection remotely, and Syncthing and Tailscale to keep my work files synchronized whether I’m at home or away.
I have other applications in Docker that I plan to experiment with, including Audiobookshelf for audiobooks, Navidrome for music, and Kavita for ebooks, but I plan to add these services as and when I need to use them. For now, I’m happy with my current server setup, and I have put off buying a dedicated NAS — at least for a while.