A stack of lumber at the hardware store doesn’t exactly scream weekend project. But think about that pile of shoes by the front door, the herbs you’ve been meaning to grow, or the clutter in your garage that never seems to have a proper home. Sometimes, the best DIY projects start with the little things around the house that drive you nuts.
A few boards and the Ryobi ONE+ drill and circular saw can help turn those problem spots into something more useful. This isn’t a step-by-step DIY tutorial, with every cut and screw accounted for. Think of it as a little inspiration for your next weekend, with five DIY home projects you can try if you’re ready to put those Ryobi tools to work.
5
A garage shelving unit
Cut the boards to suit the stuff you already own

Garage clutter is easy to ignore until you can barely reach what you need. I could buy another plastic shelving unit, but I’d rather build one that fits my garage and the things I actually need to store. I’d keep the first build simple with four sturdy shelves with enough room for everything. A Ryobi ONE+ drill and circular saw would handle most of the work. The saw cuts the lumber to size, while the drill takes care of pilot holes and screws.
A 5-½ inch circular saw can cut typical 2-in lumber in one pass, so you don’t need a huge workshop setup just to build shelves. I’d keep a speed square and a couple of clamps nearby, too. The square helps guide straight crosscuts, while the clamps stop boards from shifting around mid-cut.
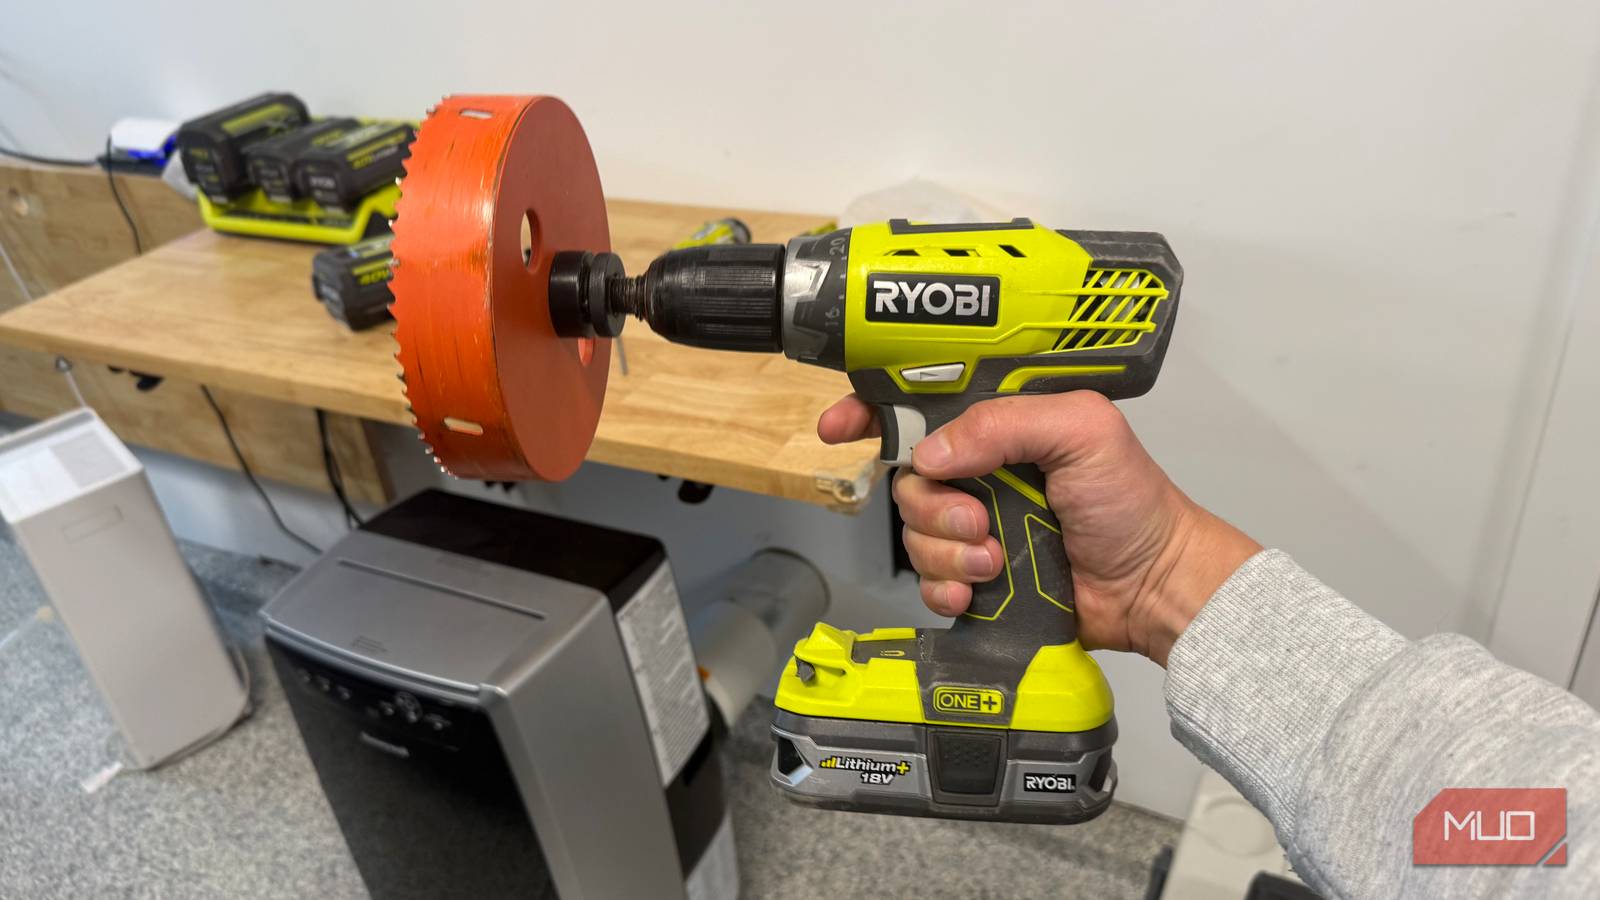
Once the boards are cut, the Ryobi ONE+drill/driver does the rest of the assembly. It can bore pilot holes and drive screws that join the frame, so you don’t have to switch tools constantly. The adjustable clutch also lets you control the force used to drive each screw. As for the finish, I wouldn’t bother with decorative trim unless you want the shelves to look like furniture. Garage shelving has a simple job: keep your stuff organized, accessible, and off the floor. If it does all three, I’d call that a successful weekend project.

- Color
-
Yellow
- Tool Type
-
Circular Saw
4
A raised garden bed
You can keep the design as simple as a rectangle

I like raised garden beds as a first woodworking project because you’re essentially just building a sturdy frame that sits directly on the ground, with an open bottom. So if you’re still getting comfortable with power tools, it’s a good excuse to put your Ryobi ONE+ drill and circular saw to work.
For the frame, I’d go with cedar if the budget allows, since it naturally resists decay. And no need to get fancy with corners on your first go. You can always build something more ambitious once you’ve got some more experience under your belt.
I like that the ONE+ circular saw lets you work outdoors without dragging extension cords across the yard. And as a right-handed user, I get a clear view of the cut line with its left-side blade, and the spindle lock makes changing blades easier when needed. The integrated dust port also helps direct wood dust away.
I also appreciate that the ONE+ driver/drill weighs under three pounds without the battery and uses a rubberized overmold, so your hand won’t get tired.
3
An entryway bench with storage underneath for shoes
Keep the design simple with a plywood seat and an open shelf

I’m a fan of an entryway bench that does double duty: somewhere to sit while putting on shoes and a place to stash them. You don’t need an elaborate design, either. A plywood seat, a sturdy frame, and an open lower shelf for shoes or baskets are enough to get the job done.
For the seat, I’d consider swapping the Ryobi ONE+ circular saw’s stock blade for a 40- or 60-tooth blade to get cleaner cuts through the plywood. I’d also use a pocket-hole jig with the Ryobi ONE+ drill to keep the screws tucked away instead of showing on the outside of the bench.
On the other hand, the Ryobi ONE+ drill’s high-speed setting comes in handy for making pocket holes. Once those are ready, I’d switch to low speed to drive the screws and pull the frame joint together snugly.
Once the frame is assembled, sand the seat and any exposed edges. You can paint or stain it to suit your space, but check the product’s drying time before assuming the bench will be ready to use on Sunday afternoon.
2
Outdoor side table for your patio
Get all four legs the same length

Outdoor furniture can get surprisingly expensive for something as simple as a table to hold your coffee or a potted plant. I’d rather build a small wooden side table as a weekend DIY project instead.
I’d stick to four legs, a square top, and a frame underneath. The tricky part is getting all four legs the same length. Otherwise, you’ll end up with a table that rocks every time you set your drink down.
The Ryobi ONE+ circular saw has 0- and 45-degree sightlines to help keep cuts on track. If you want to angle the legs slightly, its bevel adjustment lets you set angles up to 50 degrees without needing extra tools. Once the pieces are cut, use the Ryobi ONE+ ½ drill/driver with a knurled chuck to help keep bits secure.
And if the result isn’t quite as polished as the furniture you could buy, that’s fine! The point is to make something that fits your space, and you built it yourself.
1
A wall-mounted coat rack with a shelf
Cut the shelf and backboard to fit your entryway

My entryway would be a lot less chaotic with a dedicated spot for the things I tend to drop by the door. I’m talking keys, bags, hats, and that jacket I always seem to grab at the last minute. A wall-mounted rack with a shelf and hooks gives them a home without eating into your floor space, which is a win if your entryway is already cramped.
I’d use a Ryobi ONE+ circular saw to cut the backboard and shelf to size, then switch to the ½-inch driver/drill to make pilot holes and attach the hooks. What I like about these two tools is that they run on the same interchangeable 18V lithium-ion battery, so you can move one battery between them as you go from cutting boards to putting everything together.
I also like that the compact 18V battery has a four-bar LED fuel gauge you can check at the press of a button. I’d check it before mounting the backboard, just to avoid running out of charge halfway through.
A circular saw and drill won’t do everything, and that’s fine
Of course, there are tools that would make these projects easier. A miter saw is convenient for repetitive crosscuts, while a random orbit sander can save you a lot of time when finishing furniture. But I wouldn’t rush out to buy every Ryobi tool I can think of just because I’m starting a DIY project.
A drill and circular saw can handle the main work involved in a simple DIY build. Just add a tape measure, speed square, clamps, and safety gear, and you’re practically good to go.
There are limits, naturally. If you want to cut intricate shapes or build furniture with complex joinery, two tools (and one weekend) won’t cover every job. But that’s okay! Sometimes, the best first DIY projects are the ones that simply fix an everyday annoyance.
The best part about a weekend DIY is discovering you can solve a problem around your home without paying someone to build a simple shelf or buying something that doesn’t fit your space. A Ryobi ONE+ drill and circular saw won’t turn you into a professional woodworker overnight.
They will, however, give you a practical starting point for building useful things, such as a garage shelving unit, a raised garden bed, and so much more. And once you’ve finished your first project, you’ll have a much better idea of which Ryobi ONE+ tool, if any, is worth buying next!