When you realize there’s a dead zone in your home, it’s easy to rush into buying a mesh Wi-Fi system to improve your network’s coverage. However, adding extra mesh Wi-Fi points to your wireless network can do more harm than good if they aren’t necessary. Finding the right number of access points for your home’s mesh Wi-Fi network isn’t an exact science. Router kits will come with general guidance about how many square feet a single router or access point can cover, but these instructions aren’t tailored to the specifics of your home.
So, how do you figure out how many access points are needed in your home for great coverage and optimal network performance? It isn’t a mesh test — it’s a speed test. The same speed test you’ve probably run hundreds of times, but with a twist. There’s a specific way to run wireless speed tests that will help you determine the right number of wireless access points for your home. I used it myself, and learned that unplugging one of my access points actually resulted in faster speeds.
User manuals are only the starting point
You need to tailor your mesh Wi-Fi setup to your home environment

Every mesh Wi-Fi system is different, and the best way to implement a mesh router system will vary based on environmental factors. A multi-story home might need more wireless access points than a single-story home, because of the additional physical obstructions. A home built out of brick and mortar could use more wireless access points than a similar one made of wood for the same reason. An apartment could be better off with fewer access points, since the proximity of other units adds congestion. So, the starting point should be to read the manual of your mesh system and consider the factors that might impact the performance of your network.
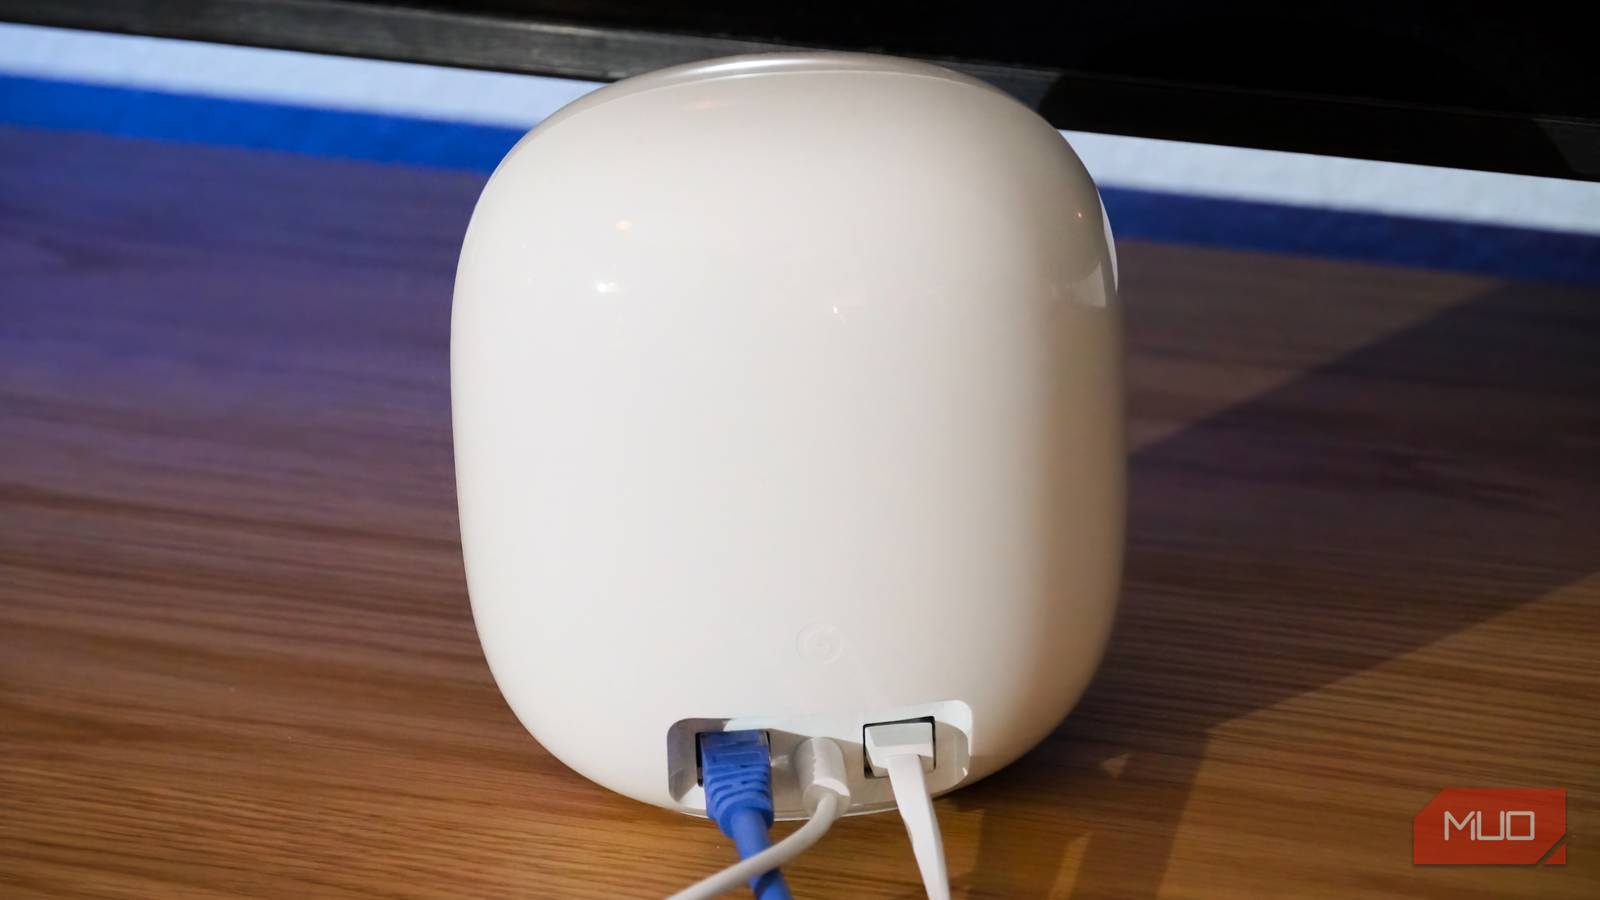
In my case, I’m working with the Google Nest Wi-Fi Pro mesh system. I chose this mesh router setup in part due to my investment in the Google Nest smart home ecosystem, but also due to its versatility. These aren’t “access points” in the traditional sense — each Nest Wi-Fi Pro unit can function as a standalone primary router or as a satellite node via wired or wireless backhaul. You can adapt a Nest Wi-Fi Pro router to your setup, and buy as many or as few as needed.
Google provides basic guidance for Nest Wi-Fi Pro mesh setup. A single Nest Wi-Fi Pro router can cover up to 2,200 square feet. Google recommends a maximum of five Wi-Fi points on a single network. For large homes, one primary Nest Wi-Fi Pro router and up to four access points will cover roughly 8,800 square feet of space. However, this all varies based on your environment. As an example, Google recommends owners of a two-story, 2,200-square-foot house use two Nest Wi-Fi Pro mesh routers, even though one should do the trick on paper.
This is the hard part about configuring a mesh router system for the first time. Instruction manuals, support documents, and setup apps can tell you a lot, but they can’t optimize a system for your unique space. Luckily, there’s a way to turn your speed test results into actionable insights that’ll help you position your mesh network properly.
A mesh test isn’t the best way to optimize your setup
You want to run a simple speed test throughout every part of your home
I thought the mesh test in the Google Home app was telling me if I had the right number of access points in my home, but I couldn’t have been more wrong. Mesh tests simply gauge the quality of the connection between access points — they won’t always let you know if you have too many or too few access points in your home. Instead, the best way to find the number of access points your home network needs is to run speed tests in every room in your home. It’ll work with any mesh Wi-Fi system, regardless of brand or features.
Start by setting a baseline. Plug in your primary router in its future home, and remember to follow best practices for router placement. Keep it off the ground if you can, enabling a line-of-sight path between the primary router and your future router nodes. With only the primary router active, run a speed test on your phone from about five or 10 feet away. This will give you a data point that represents your wireless router’s ideal network speeds at peak performance.
Then, walk around your home, continuing to run speed tests as you go. Test your network in different rooms, floors, and anywhere else you want a reliable Wi-Fi signal. Note the changes, if any, in performance. When the network speeds start to drop off, you’ve found a potential dead zone. This is a sign your Wi-Fi network needs an additional access point. With the area located, connect an additional mesh access point, and position it in between your primary router and the dead zone. Test the network speeds again, and they should improve.
Repeat this process throughout your home, continuing to fill the space between your primary router and any potential dead zones with access points. If your network speeds remain consistent throughout, you don’t need any extra access points.
Identify the dead zones, add mesh Wi-Fi points
Remember to put your access points between the dead zone and router

I used this simple method to optimize my mesh router system after downsizing to a smaller apartment. My old space needed all three Nest Wi-Fi Pro routers active due to the square footage and layout, but these tests revealed I only needed one or two routers in my new home. By following this process yourself, you can avoid adding too many access points to your network, which can cause slower speeds or congestion.
I like this trick because of its simplicity. Everyone knows how to run a speed test, and this method doesn’t require any third-party apps or specific hardware. It doesn’t even require any technical knowledge. Take the mesh placement guidelines found in your system’s instruction manual or support documents and follow them using the hard speed test data you’ve collected yourself. It’s that easy, and your Wi-Fi network will thank you for it.

- Coverage
-
Up to 2,200 square feet
- Wi-Fi Protocols
-
Wi-Fi 6E – 2.4 GHz, 5 GHz, 6 GHz bands
Google’s reliable mesh Wi-Fi system helps ensure coverage throughout your whole home. The system uses Wi-Fi 6E for speeds up to 5.4 Gbps, and the 6 GHz band helps reduce interference for better performance.