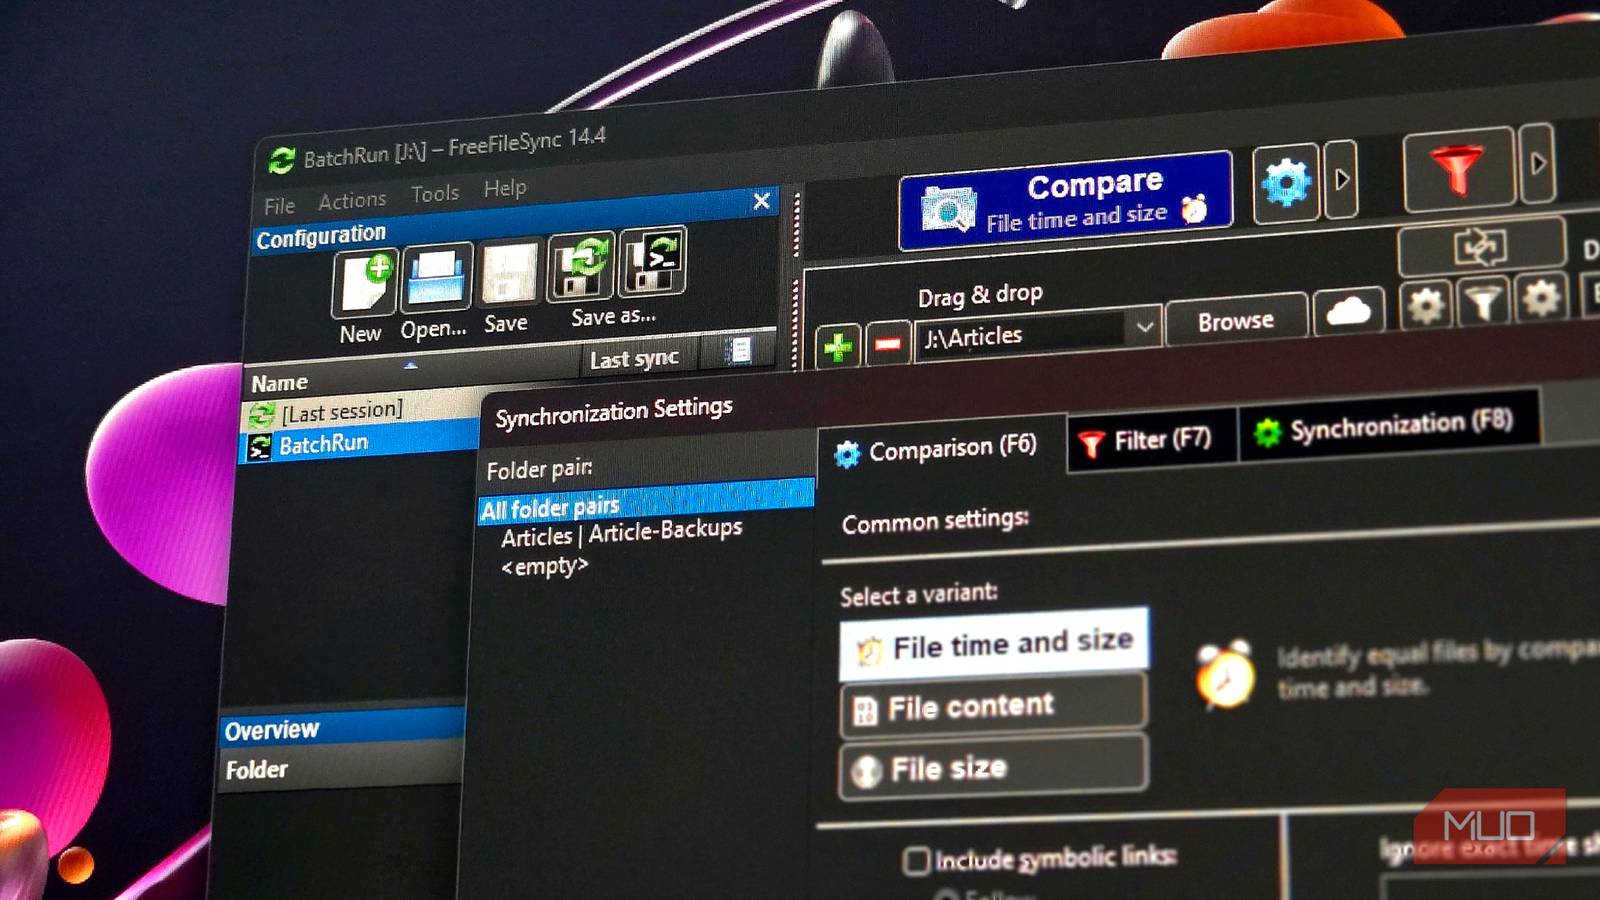
The importance of backing up your files seems obvious, but choosing how gets complicated fast. The built-in Windows backup option is painfully basic, while decent backup software costs serious money. FreeFileSync claims to solve both problems, and it does so brilliantly.
Meet FreeFileSync
A lightweight sync tool that keeps your files accessible
FreeFileSync is an open-source file synchronization tool that creates exact copies of your folders wherever you need them. Unlike dedicated backup apps such as Duplicati, which store files in compressed archives that require the app to restore, FreeFileSync keeps your files accessible in their original format.
FreeFileSync offers four sync modes:
- Mirror: Creates an exact copy of your source folder.
- Two-way: Syncs changes in both directions.
- Update: Copies only new or modified files.
- Custom: Lets you define exactly how each type of file operation is handled for greater flexibility.
FreeFileSync also handles advanced backup setups with ease. It supports syncing to multiple destinations at once, making it perfect for following the 3-2-1 backup rule—three copies of your data, on two different types of media, with one stored offsite. You can chain multiple sync pairs in a single session, allowing you to back up to a local drive and a network location in one go.
Tools like Duplicati and Macrium Reflect are excellent for full-system backups of your Windows 11 PC. But if you need a fast, no-fuss way to copy key files and folders, FreeFileSync is a much simpler solution.
While the core software is completely free, FreeFileSync also offers a Donation Edition that unlocks extra features, including parallel file operations. For most people, the free version is more than enough, since it includes all essential functions. The donation-only features mainly benefit those who regularly sync giant datasets or work over slow network connections.
Automate your backups
Set up FreeFileSync once and let it do the work

FreeFileSync isn’t the most intuitive backup tool and requires some technical know-how to get it working. While it’s powerful and flexible, you may find the interface overwhelming, and the setup process can be confusing without referring to the documentation or community forums.
That said, once you get the hang of it, creating a basic backup is straightforward. Let’s walk through a simple example: mirroring a folder from your primary storage drive to a secondary drive.
In FreeFileSync, click the + icon to select your source folder on the left—this is what you want to back up. Choose your destination on the right, whether that’s an external drive, network location, or cloud sync folder.
Before syncing, check the comparison settings by clicking the gear icon next to Compare (F6). I use the default File time and size option, which is fine in almost all cases. Only switch to File content if you need absolute accuracy and can afford the extra time, as it’s much slower on large folders. Skip File size unless you know what you’re doing.
If you’re backing up photos or videos, turn on Ignore time shift [hours] in the comparison settings. This helps FreeFileSync avoid re-copying files because of small time differences (such as daylight saving time changes or copying between Windows and a NAS).

Next, configure your sync settings. Click the green Gear icon beside the Synchronize button and select Mirror mode. This creates an exact copy of your source folder and removes files from the backup that no longer exist in the original.

While Mirror mode is useful for keeping your backup clean and preventing old files from piling up, it will also copy corrupted files, ransomware-encrypted files, and similar changes. If you delete a file, its “backup” will be deleted as well. To avoid this, you’ll need to set up file versioning, as explained below.
Another option is to choose Update mode, which only adds files to your backup folder and never deletes existing ones.
Two-way sync mode has its uses, too, but it’s more niche. For example, it can be useful when storing shared files in cloud storage that multiple people edit.
Setting up Filters (F7) can save both space and time during backups. Click the funnel icon to open the filter settings. Here, you can exclude folders or files that don’t need to be backed up, such as temporary files or folders that can easily be recreated later.
Before running any sync, always click Compare first to preview exactly what changes FreeFileSync will make before anything is copied or deleted.
Enable versioning to protect previous file versions

To protect important files from accidental changes or deletions, enable versioning in FreeFileSync. This feature keeps older versions of files so you can recover them if something goes wrong during a sync.
Click the Gear icon next to Synchronization (F8) in the main window to open the sync settings. Select the Versioning option under Delete and overwrite. Then click Browse and choose a location for the versioning folder, such as E:BackupsVersions.
Finally, pick a naming style; timestamps are a reliable choice. This way, FreeFileSync keeps previous versions of your files in case you accidentally overwrite something important.
Schedule backups automatically

FreeFileSync doesn’t include built-in scheduling, so to automate backups, you’ll need to create a batch file and schedule it using Windows Task Scheduler. While it’s not the most user-friendly process, you only need to set it up once.
After setting up your sync pairs and verifying everything with Compare, click File > Save as Batch Job. This saves your sync configuration as an .ffs_batch file. In the batch job window, you can customize several options, such as whether the sync runs silently in the background, whether errors are shown, and whether a log file is created.
Make sure to check the boxes for Run minimized and Auto-close if you want the task to run without your input. Once saved, this batch file becomes a self-contained script that you can run manually or schedule with Task Scheduler.
Save each backup job as a separate batch file—one for documents (daily), another for video projects (after each editing session), and a weekly full backup for everything else.
Alternatively, you can use RealTimeSync, which comes with FreeFileSync, to monitor folders and trigger backups whenever files change. Unlike Task Scheduler, RealTimeSync detects changes and launches your sync job automatically, making it ideal if you want backups to happen as soon as files are modified.
While the lack of native scheduling is a limitation, both Task Scheduler and RealTimeSync offer reliable workarounds once configured. Just remember to test your scheduled tasks—there’s nothing worse than discovering your automated backups haven’t run for months.
FreeFileSync also offers a portable version that runs directly from a USB drive, allowing you to set up backups on multiple computers. It’s a convenient, plug-and-play option for quick, hassle-free use.
The not-so-good bits of FreeFileSync
Excellent syncing, but a few rough edges remain
FreeFileSync’s interface feels like it’s stuck in 2010. While it gets the job done, the cluttered layout and technical jargon can overwhelm newcomers. Even simple tasks like setting up filters or understanding sync directions often require digging through documentation or watching tutorials.
Cloud support is limited compared to some dedicated backup tools. FreeFileSync natively works with Google Drive and supports FTP, FTPS, and SFTP connections for server-based storage. But if you’re using Dropbox, OneDrive, or most other cloud services, the situation is trickier.
You’ll need workarounds, such as installing desktop sync apps to expose local folders or using third-party tools like Mountain Duck to mount cloud storage as drives in File Explorer. For a modern tool, this setup feels outdated.
Despite these quirks, FreeFileSync gets the basics right. It’s reliable, completely free, contains no ads, and gives you total control over your backup strategy. While it focuses on file and folder backups rather than full system imaging, it’s perfect for keeping your documents, photos, and other personal data safe.