Several Windows PCs come with Microsoft’s BitLocker-based device encryption. It provides robust protection by encrypting the drive so that, even if the boot process is compromised or the device is stolen, the data is extremely difficult to access without the specific recovery key.
However, if you can’t access this recovery information, this protection may permanently lock you out. It only takes a few minutes to secure your recovery key and avoid being locked out.
Device encryption doesn’t ask permission
Windows can turn it on before you ever think about encryption
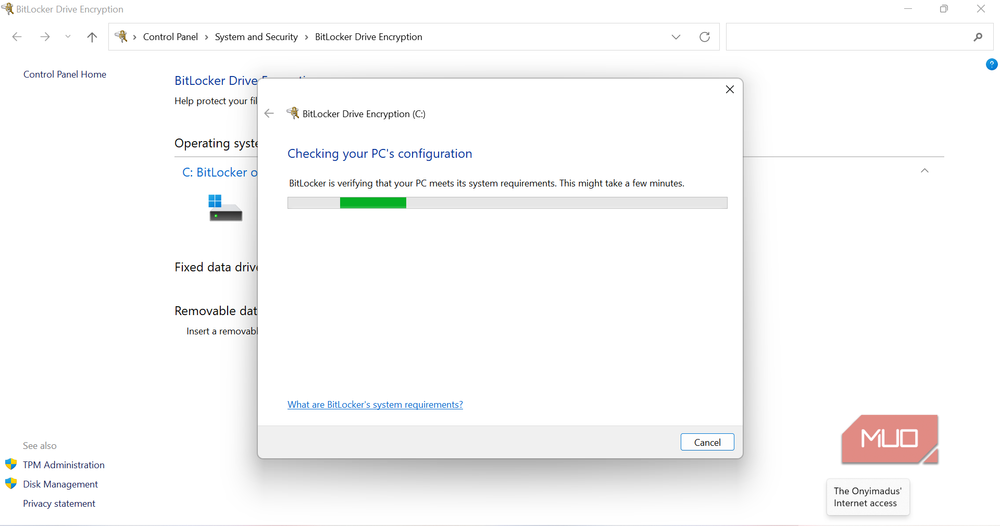
On several modern Windows 11 PCs, signing in with a Microsoft account automatically enables device encryption. This is a security feature I’ve found advantageous over the years, but it can be enabled without physically ticking a checkbox, and on some devices, without an explanation or prompt. Signing in with a local account doesn’t have the same effect; you’d need to manually enable encryption.
Unlike BitLocker, which is commonly associated with IT-managed Windows Pro machines, automatic device encryption is an OS-driven consumer feature. This time, the OS is making that decision for you in the background of regular consumer machines.
Several requirements that exempted many PCs from getting this automatic encryption were dropped with the 24H2 update. For instance, automatic device encryption no longer depends on the PC meeting Modern Standby or Hardware Security Test Interface (HSTI) requirements. More machines now qualify than they did a year or two ago, including systems whose owners were never notified about encryption.
These factors create a strange situation where you own a device with a fully encrypted drive without ever having decided to encrypt it. It’s very convenient to have extra security and protection without ever lifting a finger. However, it might only become an issue if you have to unlock that drive yourself.
The recovery key is the part you never see
Encryption can be automatic, but getting back in is still your problem

The moment this security is turned on, Windows generates a 48-digit recovery key. You normally never see or enter it. You only need it when BitLocker can’t unlock the drive using its normal protection mechanism. That’s the point at which having an encrypted drive and regaining access can feel like two separate issues.
While the first part is automatically handled by Windows, ensuring that you can actually access that account and key is entirely up to you, and Windows never reminds you to check until the very moment you need it.
In most cases, with personal computers, the needed recovery key is tied to the Microsoft account that set up that computer. So basically, your safety may lie in an account you haven’t opened for years, and in some cases, one you don’t control if you didn’t personally set up your computer.
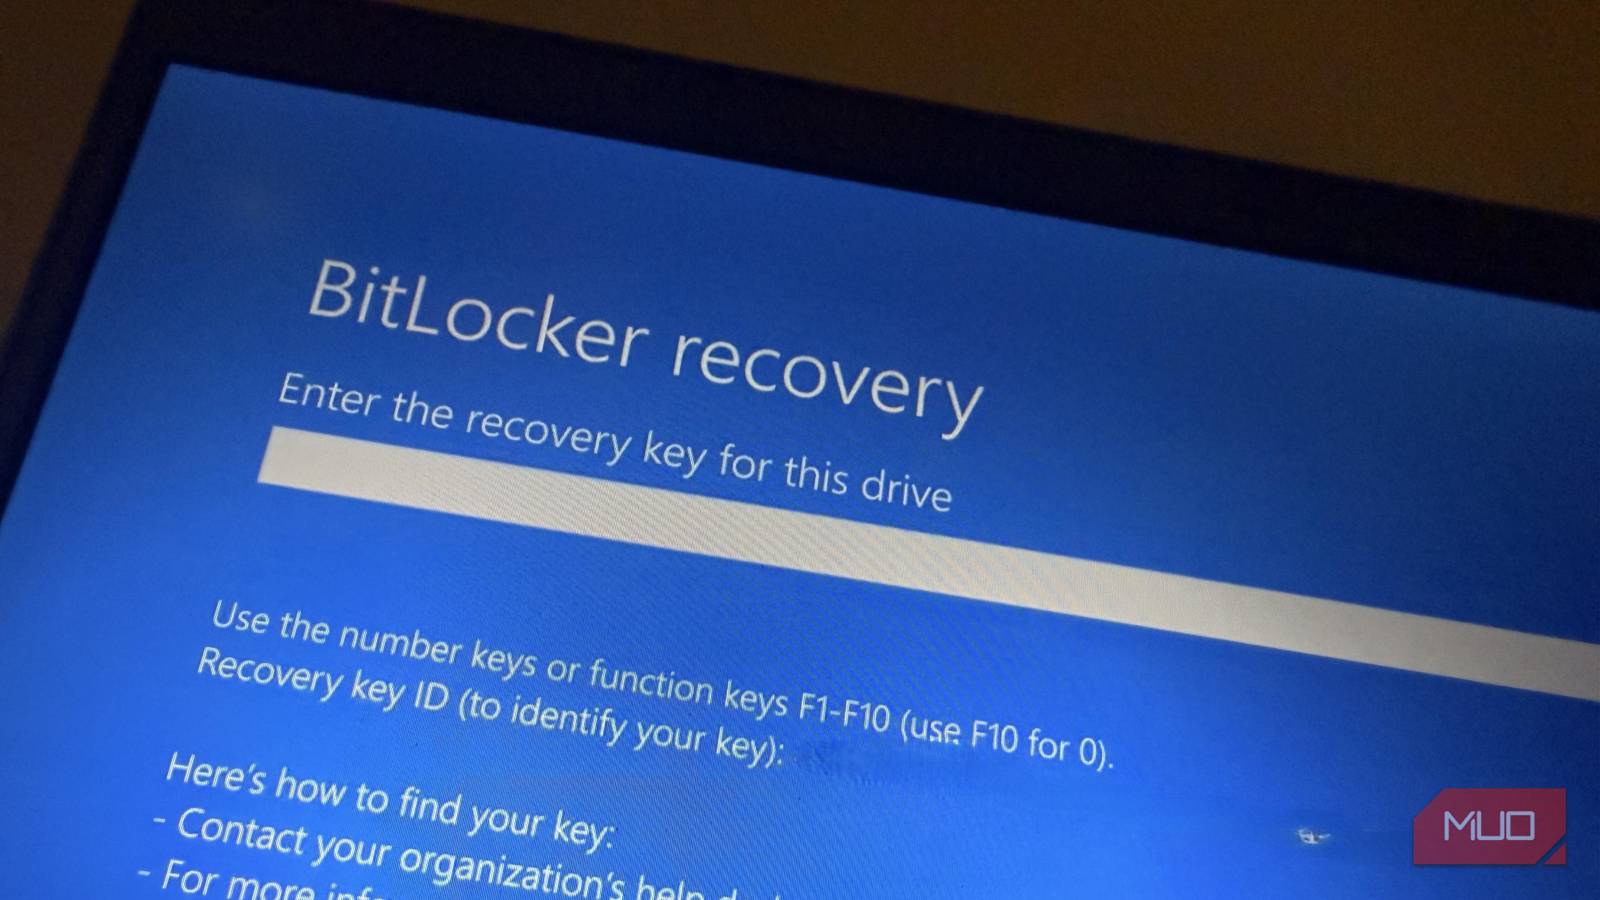
The moment this recovery is needed, your PC stops the traditional startup process. You don’t get the desktop but a simple BitLocker recovery screen asking for the 48-digit recovery key. It’s at this point that it hits you that the one thing standing between you and all your data is one piece of information you’ve never verified, while there was no problem.
Your Microsoft account may be holding the key
Find your BitLocker recovery key before you need it
The two most important questions you must answer right now are: Is this machine actually encrypted? Do I have a working way back in?
For the first question, follow these steps:
- Open Settings (Win+I).
- Navigate to Privacy & security -> Device encryption.
If this option doesn’t appear, device encryption may be unavailable, or you may be signed in with a standard user account.
If the toggle is on, then the machine is actually encrypted. You may even go a level deeper by running this command in an elevated Command Prompt: manage-bde -status. It shows the BitLocker encryption and protection status in more detail than the Settings toggle.
For the second question, do this:
- Sign in to your Microsoft account.
- Click on your device under the Devices section, then click Manage recovery keys.
Several keys may be listed if you’ve set up multiple devices with that account. Each has an ID attached to it. The key you choose should match the ID displayed when your device requests a recovery key.
For devices that belong to schools or organizations, the recovery key may instead be stored by the organization, so you may need to contact its IT department.
Know what can trigger BitLocker recovery
Subtly, elements like firmware updates, boot configuration changes, TPM changes, or motherboard replacement can trigger this lockout. From the moment BitLocker triggers a recovery, access comes down to a single question: Can you access your recovery key?
If you’ve done this check and can access your Microsoft account and the keys, you are safe. If not, immediately begin the Microsoft account recovery process before your PC requires recovery.