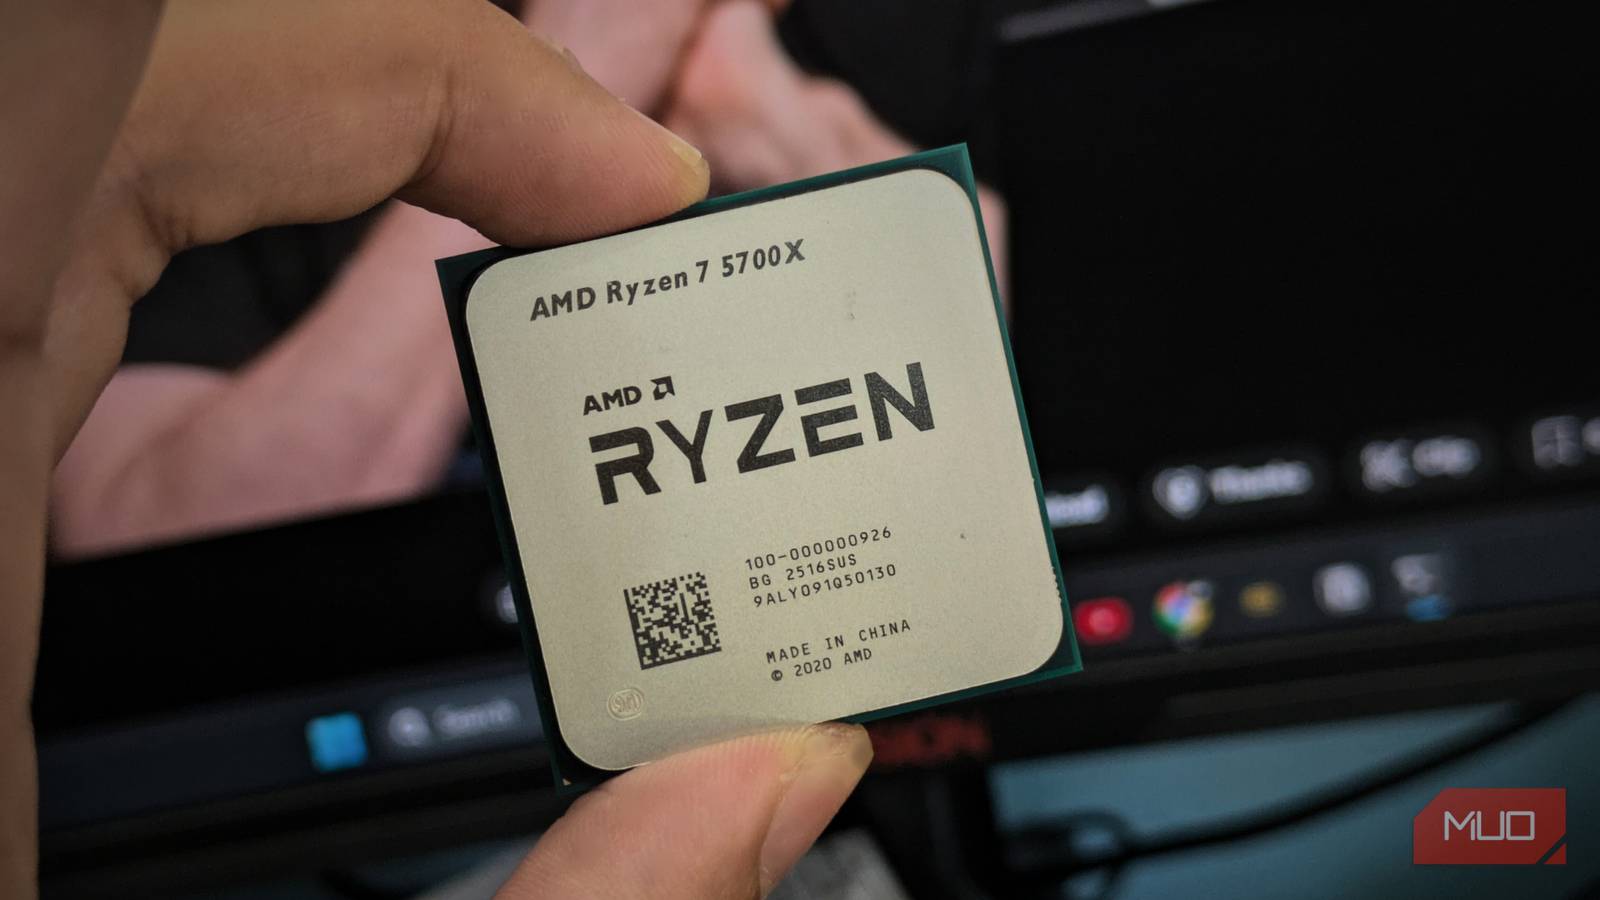
For an average user, I wouldn’t recommend manually overclocking your PC’s components, since tweaking voltage and frequency settings can sometimes lead to disastrous results. Fortunately, manufacturers offer first-party programs that make overclocking easier, like AMD’s Ryzen Master and Intel’s XTU, which can apply predefined tuning for automated overclocking.
On my AMD setup, I use Ryzen Master for a completely different reason than you’d think: I undervolt my PC with the Curve Optimizer feature.
Why overclocking isn’t worth the risk
More voltage, more heat, less headroom
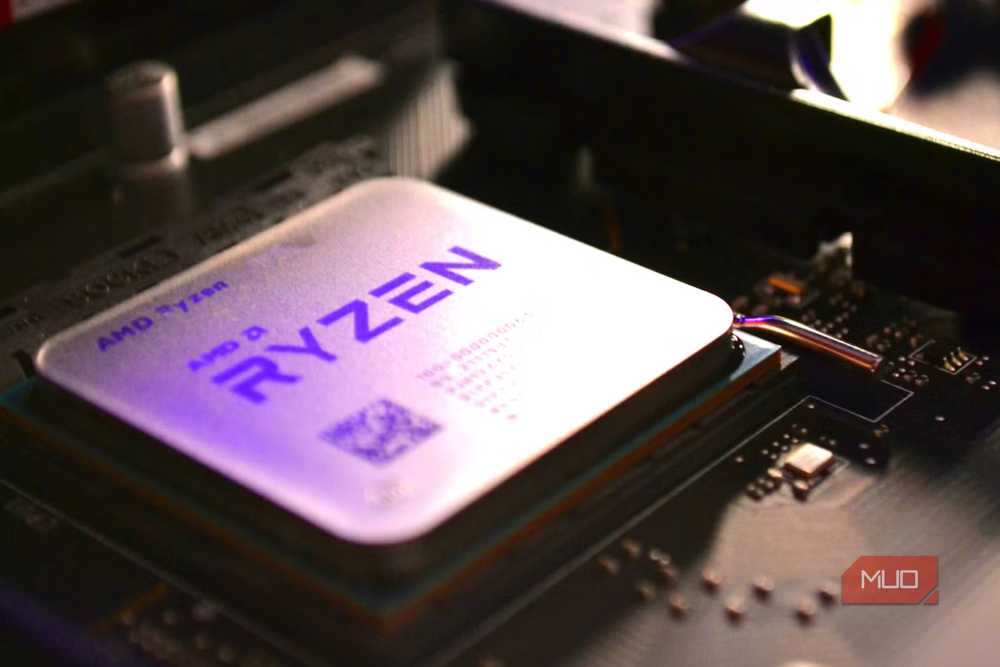
With each frequency threshold, your CPU demands more voltage and, as a result, draws more power. Overclocking forces your CPU/GPU to run faster than the clock speed the manufacturer intended, which demands more voltage and generates more heat.
Usually, your CPU/GPU delivers the best performance at boost clocks. You reach this maximum safe frequency during demanding tasks, as long as temperatures stay within safe limits, but only briefly because the CPU/GPU draws too much power in that state and gets hot.
After a specific temperature threshold, your component can start thermal throttling, a phenomenon where it forces itself to slow down to cool and avoid permanent damage.
What Curve Optimizer does
It’s undervolting, not overclocking
Undervolting limits the voltage provided to your CPU/GPU, but it doesn’t necessarily reduce performance because it lowers heat and power use, allowing the component to reach boost speeds more often. Modern components are power-hungry, and CPUs like the Ryzen 9000s can easily draw up to 230W; unless you have over-the-top cooling, you’re unlikely to get full performance.
This is exactly what Curve Optimizer does, but it gives you better, advanced control that lets you adjust voltage at different clock speeds. To set up Curve Optimizer, follow these steps:
- Download Ryzen Master from the official AMD site.
- Go to the CPU tab.
- Scroll down to Curve Optimizer.
- You can set it to Automatic, where Ryzen Master uses predefined values to adjust millivolts for you, or set it to Manual if you want to tinker with the settings yourself.
I recommend starting by reducing the voltage by -10 (the figures are in millivolts) at each frequency threshold, then testing benchmarks to see whether your performance has been impacted. If not, then you can decrease by -5 millivolts and stop right before you see a performance drop.
Don’t stop at the CPU; your GPU benefits from undervolting as well
More power draw means more room to save
AMD Ryzen Master is explicitly for your CPU and RAM; I don’t recommend touching the latter at all because the upside is too minimal, and you’re likely to crash your PC first. Instead, just rely on the XMP/EXPO settings, which are the ideal settings for your memory, as tested by the manufacturer.
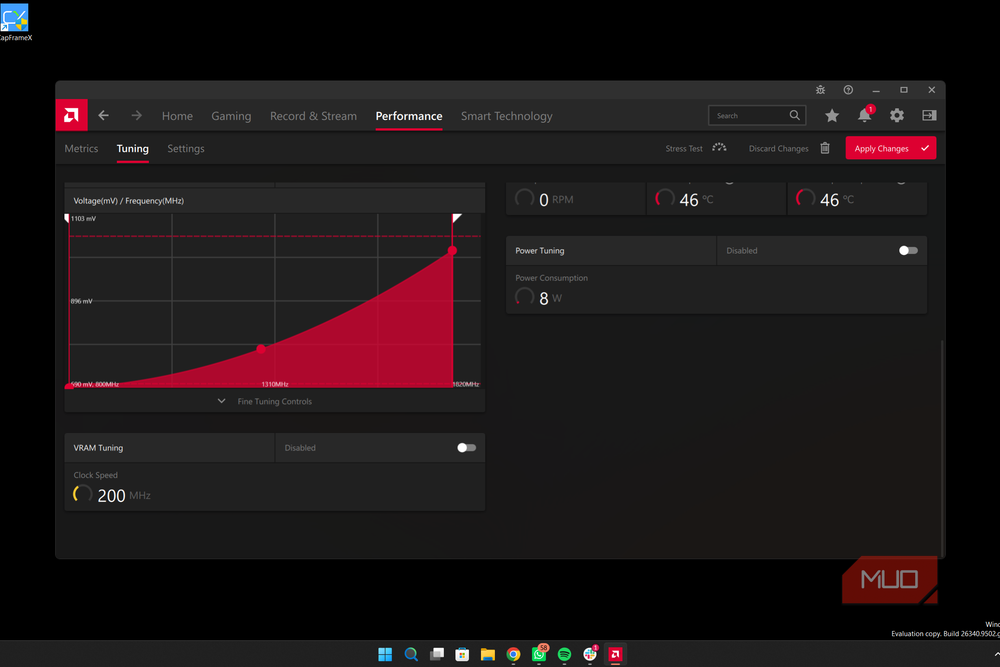
The GPU, however, is a completely different story, and, dare I say, undervolting the Graphics Card might even have more benefits than the CPU. To adjust your GPU’s power, you won’t need a separate application; the default AMD Software: Adrenalin Edition can already do that with a visual graph.
To do so, follow these steps:
- Open AMD Software: Adrenalin Edition.
- Go to Performance → Tuning → Tuning Control.
- You can either select Undervolt GPU for automatic tuning or Manual Tuning for full control. Select the latter for better adjustments and more control.
- Now select Advanced Control, and you’ll see a graph where the X-axis is GPU clock speed and the Y-axis is voltage.
For the GPU, since it draws more power than the CPU, drop the millivolts in 25 mV increments until you see a performance drop; that’s where you should stop reducing voltage. Like with the CPU, you’ll notice more consistent GPU performance when you undervolt, thanks to controlled temperatures that deliver better FPS and 1% lows.
Where undervolting makes the biggest difference
Steadier frame rates, not just lower temperatures

For my Ryzen 5 5600, I noticed substantial temperature drops and a higher sustained boost clock, which helped me squeeze a bit more performance out of my CPU in Cinebench. Combined with undervolting my GPU, gaming performance saw the biggest difference, with more consistent frame rates and lower 1% lows.
Overall, this is especially helpful for me in the summer because it gets so hot where I live.
If you’re daring, you can also try overclocking and undervolting simultaneously, but that depends on your silicon — which is the natural variance in the chip because of imperfections in the manufacturing process.
From there, it’s a matter of testing, finding the perfect voltage-to-frequency ratio, benchmarking, and comparing figures to baseline versions.
Every chip’s sweet spot is different
Stability testing isn’t optional. I highly recommend thorough testing and benchmarking to find the ideal voltage setting for your PC, since it might not be universal across all systems. Beyond undervolting, you can try other hacks like dynamically adjusting fan speeds or replacing thermal paste to improve cooling, which can help you boost clocks more often and keep your PC from choking.
That said, I’m not dismissing overclocking as a whole because you can overclock your computer, but you have to be very mindful of your hardware’s lifespan and temperatures, and I don’t think it’s worth the trade-off.