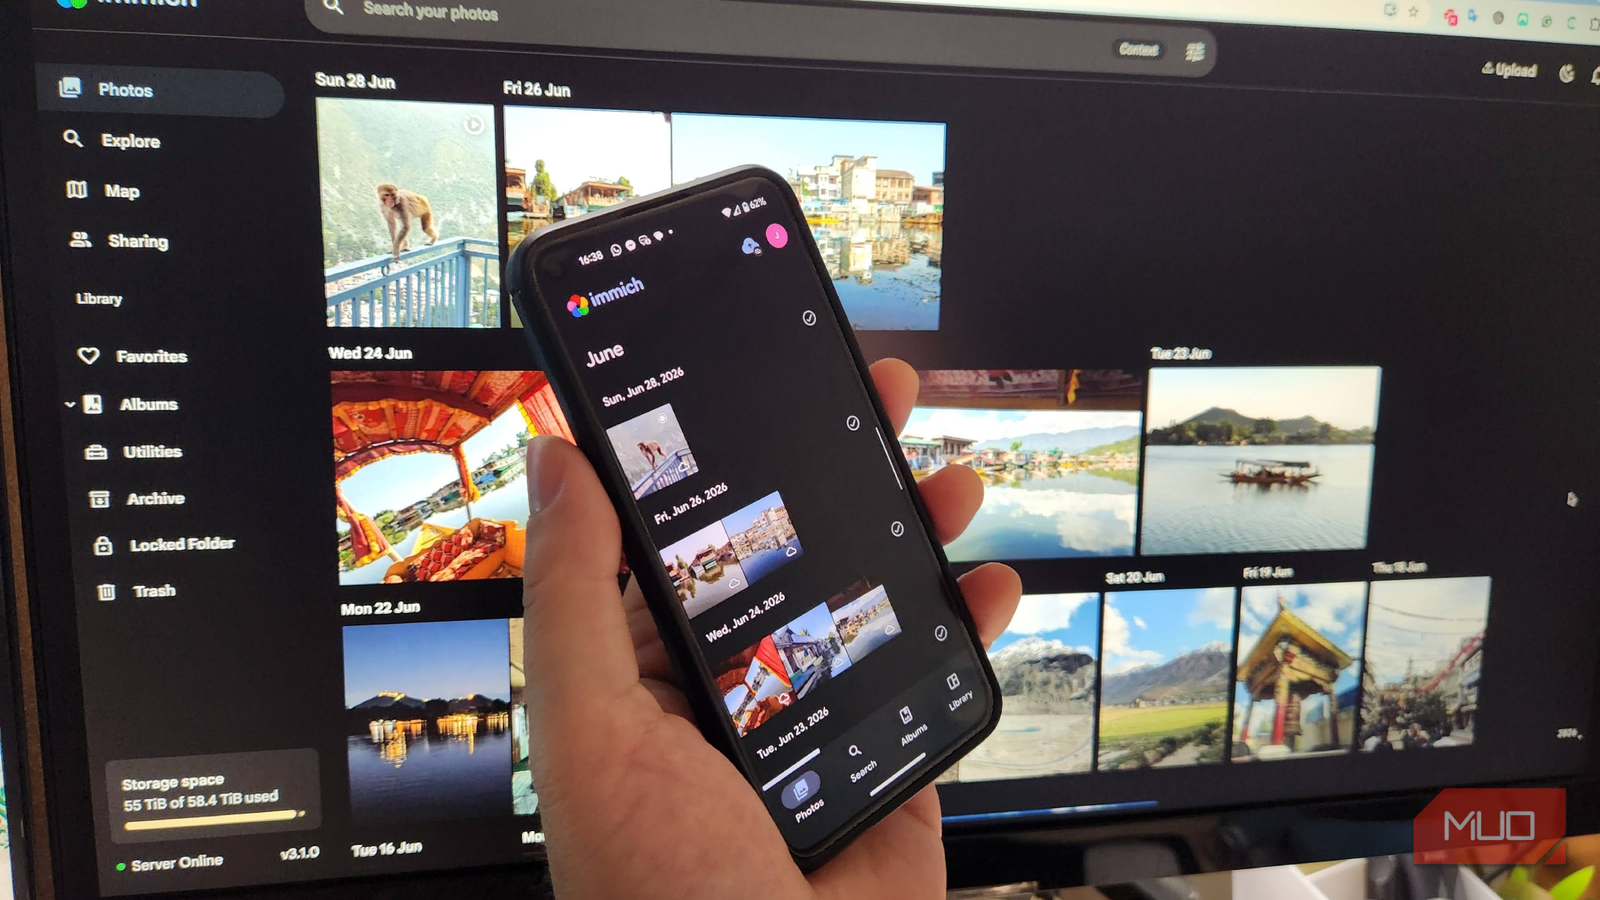
For years, I used Google Photos to back up and view my photos and videos. However, the more I used it, the more aware I became that I was saving all my memories to a single destination. I wanted the reassurance that came with knowing exactly where my files were stored and having complete control over them, and thankfully, Immich provided the perfect solution.
This impressive self-hosted photo management platform runs in Docker, and I wrote about it previously as an example of what to use. Here, I’ll go through the steps of what to do to build your own photo library. I used Mac Terminal to run commands, but the same basic process works with Linux Terminal or Windows Terminal, or with PowerShell on Windows.
First, get Docker ready
Install Docker Desktop before touching the terminal
The first thing you must do is install Docker Desktop, as Immich uses this to package all the necessary components into separate containers. Linux users can install Docker Engine and the Docker Compose plugin, while Windows users can use Docker Desktop, with WSL 2 also supported.
As soon as Docker is up and running, you don’t need to focus much on its interface, as the terminal window is where most of the magic happens. This is where you will run the commands that tell Docker what to do. It may sound a little complicated at first, but essentially, Docker provides a controlled environment in which Immich and its supporting services can run without having to manually configure each component.
Create your Immich project
Use the terminal to create a home for Immich

Now we can start building the server. The first step is to open Terminal and create an Immich directory:
mkdir ~/immich-app
cd ~/immich-app
The first command creates a folder called immich-app in your home directory. The second moves Terminal into that folder. This is essential, as it keeps everything Immich-related neatly in one place.
Next, get Terminal to download the two configuration files Immich needs:
curl -L -o docker-compose.yml https://github.com/immich-app/immich/releases/latest/download/docker-compose.yml
curl -L -o .env https://github.com/immich-app/immich/releases/latest/download/example.env
Immich uses a Docker Compose file and an environment file. The first specifies which containers to create and how to configure them. The .env file contains settings that tell those containers where your photos and database should be stored. So, rather than downloading a single application, we give Docker instructions for how to assemble it.
Edit the environment file
Tell Immich where to store your photos

This is the part where you start to take back control of your photo library. Start by opening the .env file in a text editor. Among its settings, you’ll find:
UPLOAD_LOCATION=./library
DB_DATA_LOCATION=./postgres
UPLOAD_LOCATION determines where Immich stores your uploaded photos and other media, while DB_DATA_LOCATION determines where its PostgreSQL database is stored. Immich recommends keeping your database on local storage rather than on a shared network.
This file also includes a database password. You should change this to your own unique password, using only letters and numbers. You can also set your time zone here if you want Immich to use a time zone other than UTC. Importantly, before Immich even starts, you have already decided where your data should live, instead of uploading it all to someone else’s cloud.
Start Immich with Docker
Let Docker build the server for you

Once the configuration is saved, return to Terminal and make sure you’re still inside the immich-app directory. Then run:
docker compose up -dThis is the command that makes everything happen. Docker reads the docker-compose.yml file, downloads the required Immich images, creates the containers, connects the services together, and starts them. The -d part means Docker runs everything in the background, so you can close Terminal without stopping Immich from running.
Immich separates several different jobs into services using containers. These include the main Immich server, database, Redis, and machine-learning components, among others. Docker then ensures they work smoothly together, without you lifting a finger.
Use docker compose ps to check everything is running. Once everything is working as intended, the Docker installation has done its job, and the terminal becomes much less mysterious. You’re simply sending a handful of commands to make Docker do what you want it to do.
Open your new photo library
Finish the setup in your browser and view on any device
Now comes the fun part. Immich has a fantastic interface that includes most of the features you’ll find in Google Photos, such as timeline views, albums, multiple sharing options, facial recognition, and geographic data. With the containers running, open a browser and go to:
http://localhost:2283
If Immich is running on another computer on your network, replace localhost with that computer’s IP address. This way, you can view your library on multiple devices around the home. Things really start to feel like Google Photos when you download the Immich mobile app and connect it to your Immich server, which lets you configure automatic photo backups from your phone.
Now your photos are no longer being stored on Google’s servers. They are safely in the location you selected when configuring Docker within your self-hosted setup.
Creating a self-hosted Immich photo library was easier than expected
Immich itself is both familiar and simple to use. The intimidating part of this process was familiarizing myself with the tools that work in the background. Once Docker is installed, the terminal commands are surprisingly straightforward: create a folder, download Immich’s configuration, specify where your data belongs, and run a single Docker Compose command.
These few steps are enough to turn any old Mac, PC, or Linux machine into a personal photo server. And while it may not be as automated and feature-rich as Google Photos, controlling your own hardware and storage means you ultimately control what happens to your photos.