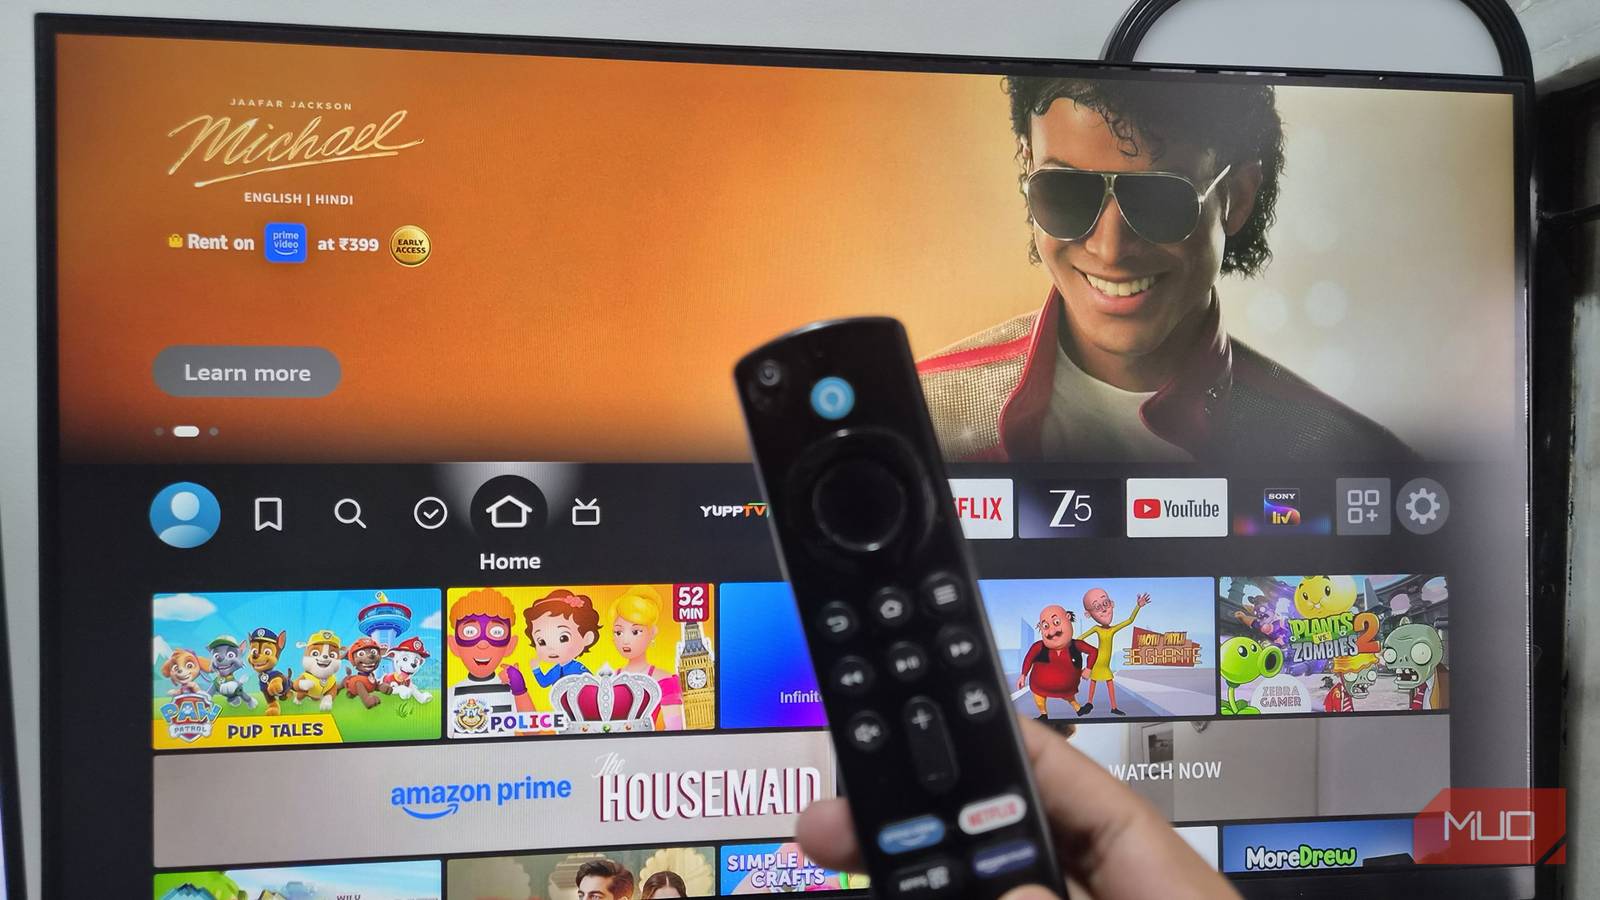
Geo-restricted streaming service content is nothing new. Sometimes you can skirt these restrictions with a VPN, but often it doesn’t work the way you want because your account is pinned to a specific region. The streaming company knows you’re not jumping back and forth from New York to London multiple times a night.
There is one workaround worth trying, though: change the DNS settings on your Fire TV Stick sostreaming companies can’t block what you’re watching. Unfortunately, to no one’s surprise, it didn’t magically remove any content restrictions in the Netflix app on my TV. However, changing the DNS settings did something I didn’t really expect, and in a good way.
Meddling with the DNS settings somehow improved the network stability on my Fire TV Stick. In hindsight, I think I’d rather have better network stability and speed than a few new movies to binge on Netflix.
Changing the DNS on the Fire TV Stick takes just a few minutes
Amazon doesn’t make it complicated
To my surprise, changing and manually configuring the DNS settings is rather simple. I own an older Fire TV Stick from 2021, with the latest FireOS update installed. Although my Fire Stick is a tad slower than the newer 4K version I have plugged into my work monitor, it was still a breeze to set up a custom DNS on the older device. The only issue I ran into while tinkering with the DNS settings was occasional disconnects.
However, once I set up the DNS and connected the Fire TV Stick to my home Wi-Fi, it held a steady connection, even after a reboot cycle. Changing the DNS on your Fire TV Stick only takes a few steps:
- From your Fire TV dashboard, go to Settings > My Fire TV > About > Network.
-
Under Network, you will find your current Wi-Fi SSID and your internet gateway information.
- Make sure to either take a photograph or a screenshot of the information about your Wi-Fi settings, specifically, IP Address, Gateway, Subnet Mask, and DNS. In case you want to roll back to your stock settings, you will need this information.
- With your Wi-Fi SSID selected, press the three-line button (☰) on your Fire TV Stick remote. This will remove the existing SSID from your Fire TV Stick’s memory.
- Next, connect your Fire TV Stick to the internet using your Wi-Fi credentials. However, this time, don’t click Connect right away. Instead, click Advanced.
-
On the Advanced tab, you can manually input the IP Address, Subnet Mask, and DNS.
- For IP Address and Gateway, use the same values as the original connection.
- You can use a custom Subnet Mask. However, in my case, I left it the same as the original value.
- Lastly, enter the Primary and Secondary DNS values you want, then click Next.
If everything goes correctly, your Fire TV Stick should connect to the internet automatically.
I recommend rebooting the Fire TV Stick after changing the DNS, but it’s not mandatory. And that’s it; changing the DNS on the Fire TV Stick is incredibly easy. While this process doesn’t help you bypass regional content restrictions, it can reduce buffering and improve Wi-Fi connection stability.
I prefer the improved connection stability over access to a dozen new movies to binge on.
Also, manually setting up DNS eliminates any DNS misconfiguration. I got into tinkering with the Fire TV Stick’s DNS settings to access movies not available in my region. However, I will happily take the improved network stability over a few new movies to binge over the weekend.
But it comes with a significant caveat: cost

If you’re desperate to access region-locked content on your Fire TV Stick, ExpressVPN’s MediaStreamer DNS could be what you need. ExpressVPN MediaStreamer is a smart DNS — not a full VPN. Instead of pushing all traffic from your device through an encrypted tunnel, MediaStreamer reroutes requests that determine your location, tricking streaming services into letting region-locked content appear on your Fire TV Stick.
The biggest caveat to using MediaStreamer is the cost. You need an active ExpressVPN subscription to access MediaStreamer. ExpressVPN has three primary subscription tiers:
- Basic (at $99.95 annually or $14.99 monthly)
- Advanced (at $119.95 annually or $16.99 monthly)
- Express Pro (at $199.95 annually or $22.99 monthly)
These prices are for the one-month plan; you can save significantly by paying for two years upfront, dropping the monthly price to as little as $3 a month.

Once you subscribe to ExpressVPN, register your IP address for MediaStreamer on the DNS settings page. After that, you will receive your MediaStreamer IP address and DNS. From there, just follow the steps to manually configure DNS for the Fire TV Stick, and you’re good to go.
Now, the real question is why you’d use MediaStreamer DNS instead of the full ExpressVPN app on your Fire TV Stick? And the answer is overhead. ExpressVPN does a great job when installed, but it routes everything through a fully encrypted tunnel, which, depending on your connection speed, can add enough overhead that your streams may struggle to load properly. MediaStreamer DNS, by contrast, still provides access to region-locked streaming with less network overhead.
In that case, if you already have an active ExpressVPN subscription, whether for PC or mobile, it doesn’t hurt to use the MediaStreamer DNS for your entertainment center.
Change your DNS for the content; stay for the stability
I really hoped switching my DNS would unlock some free content I’d previously been locked out of. Who doesn’t love getting something for nothing?
But given that failed, the next best thing is making it easier to watch the content I do have access to, and that’s exactly what I got. So, win-win in my opinion!