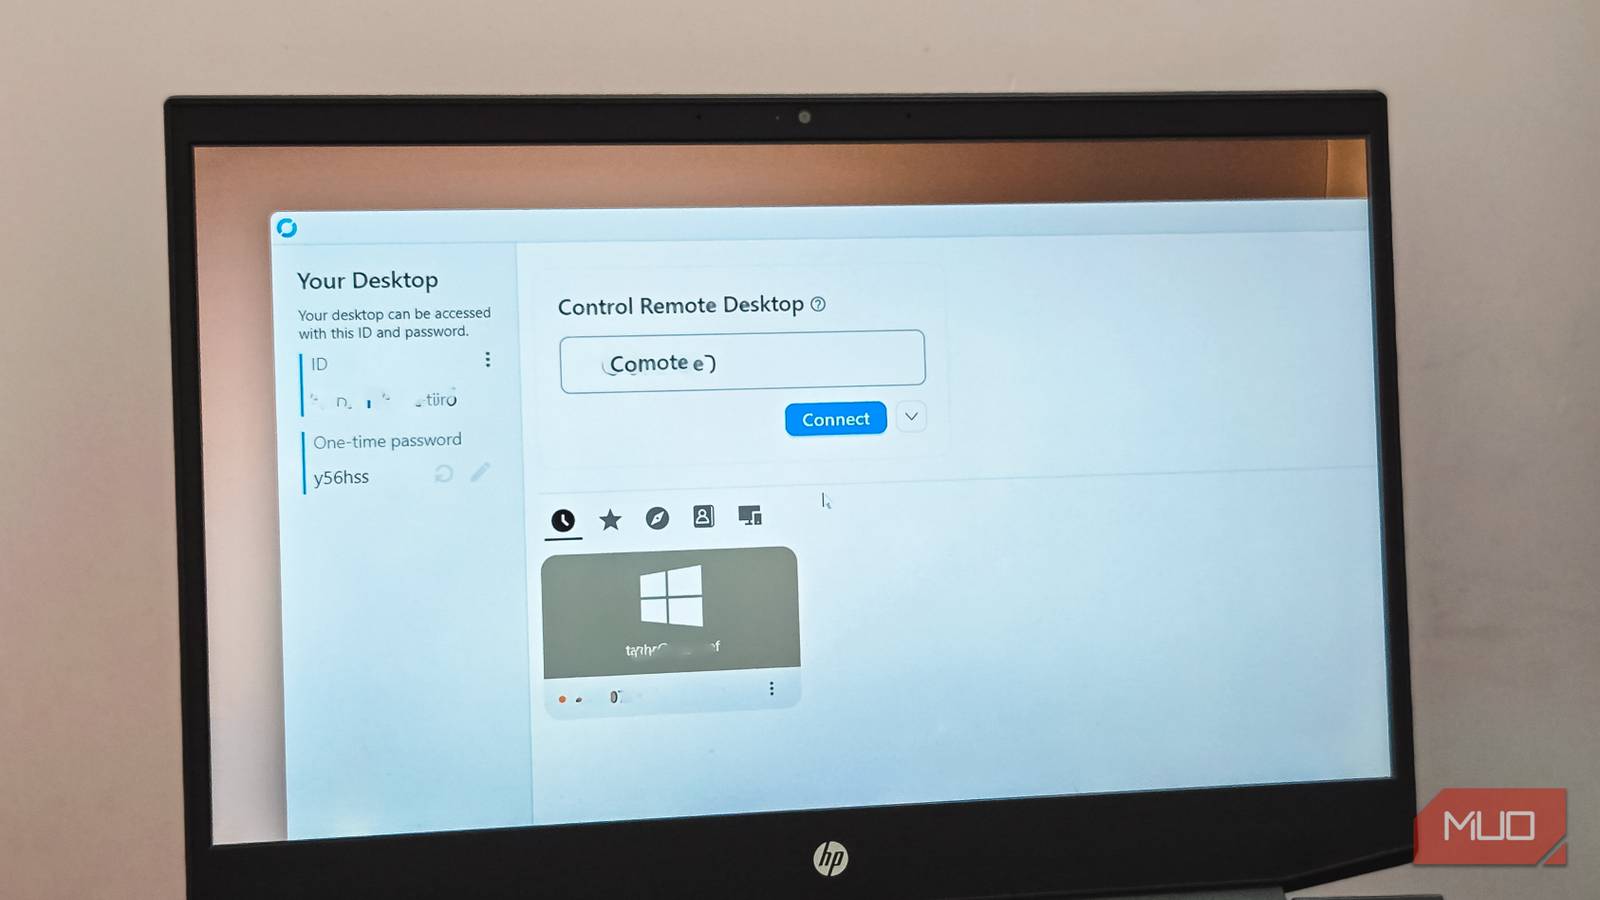
After using TeamViewer for years, I finally replaced it with RustDesk, an open-source remote management tool that I self-hosted. However, the issue with the self-hosted instance is that it won’t let me access a remote machine from outside my home network, which can defeat the purpose of a remote management app.
The fix turned out to be Tailscale, a mesh VPN that puts all my devices on a private network regardless of where they are. Once I layered it on top of my self-hosted RustDesk server, I could reach my home PC from a coffee shop, a hotel, or my phone’s mobile hotspot without opening a single port on my router.
What’s RustDesk?
A free, open-source remote desktop tool you can self-host

RustDesk is an open-source remote desktop client that works across Windows, Linux, macOS, and Android. If you’ve used TeamViewer before, the layout will look familiar.
Out of the box, RustDesk routes connections through its public relay servers. That works for casual, one-off sessions, but the public servers are shared across a large number of endpoints, so bandwidth is limited, and connections can feel sluggish. RustDesk also now requires you to sign in with a third-party identity provider like Google or GitHub when using the public server.
The better option is self-hosting. You can run your own RustDesk relay and ID server using Docker, and once you do, all traffic stays on hardware you manage.
Self-hosting RustDesk with Docker and Tailscale
Why a local server alone isn’t enough for remote access

Setting up RustDesk’s server side is fairly quick if you’re already comfortable with Docker. You spin up two containers, hbbs (the ID server) and hbbr (the relay server), point your RustDesk clients at your server’s IP, and you’re done.
However, your self-hosted RustDesk server only works within your local network. The moment you step outside your home Wi-Fi, your devices can’t reach the server, and connections fail. That’s the trade-off of self-hosting without exposing anything to the internet.
There are a few ways around this. You could set up port forwarding on your router, but that’s not ideal from a security standpoint, and if your ISP uses CGNAT, it might not even work. Another option is renting a VPS and running the RustDesk server there, and it’s the easiest way to host RustDesk. However, unless you already have a VPS server, now you’re paying a monthly fee for a server.
I went with Tailscale instead. It creates a private mesh network between your devices using WireGuard encryption, so your self-hosted server becomes reachable from anywhere without opening ports or dealing with port forwarding.
Setting up RustDesk with Docker and Tailscale
A step-by-step walkthrough from server to client

The setup has three parts: get the RustDesk server running in Docker, install Tailscale on all involved machines, and point the RustDesk clients at the server’s Tailscale IP. You’ll need Docker Desktop installed and running on the machine that will host the server, administrator access on all machines, and a Tailscale account (free for personal use).
Start the RustDesk server
On the machine that will act as your server, open PowerShell as administrator and create a directory for the project:
mkdir "$env:USERPROFILErustdesk-server"
cd "$env:USERPROFILErustdesk-server"
Create a docker-compose.yml file inside it. The compose file defines two services: hbbs (the ID server that handles device registration) and hbbr (the relay server that routes connections). Both containers share a data folder where RustDesk stores its encryption keys. On Windows with Docker Desktop, use explicit port mappings instead of network_mode: “host“, since host networking behaves differently. You’ll need ports 21115-21119 on TCP and 21116 on UDP.
Start the containers with:
docker compose up -dConfirm they’re running with docker compose ps. You should see both hbbs and hbbr listed as running. Once the containers are up, grab the two pieces of information every RustDesk client will need. First, the public key:
Get-Content "$env:USERPROFILErustdesk-serverdataid_ed25519.pub"And your server’s Tailscale IP (you’ll get this after the next step). Keep both values handy.
More importantly, always back up the data folder. If the containers are ever rebuilt without preserving it, a new keypair is generated, and you’ll have to reconfigure every client with the new key.
Install Tailscale on every machine

Download Tailscale on the server machine and on every PC you want to connect to or from. Install it, then sign in using the same Tailscale account on each device. You can log in from the tray icon or by running tailscale up in a terminal.
Once all your machines are signed in, they can see each other through their 100.x.x.x addresses regardless of physical location. Verify this by running tailscale status on any machine. You should see every joined device listed with its Tailscale IP. For an extra sanity check, ping one machine’s Tailscale IP from another to confirm they can talk to each other.
Now grab the server’s Tailscale IP by running tailscale ip -4 on the server machine. This is the address you’ll enter in every RustDesk client. If you’ve been meaning to try Tailscale for your home network, this is a practical reason to finally set it up.
Configure the RustDesk clients

Download the RustDesk client from rustdesk.com and install it on every machine you want to connect to or from, including the server itself if you’ll use it as a controller.
- Open RustDesk and click the hamburger menu (three horizontal bars).
- Go to Settings > Network.
- Enter your server’s Tailscale IP in both the ID Server and Relay Server fields.
- Paste the public key string into the Key field.
- Apply the settings.
Check the status bar at the bottom of the RustDesk window. The “please set up your own server” message should be gone, confirming this client is now using your private server. Repeat these steps on every machine using the same values.
For unattended access, head to Settings > Security, unlock the security settings, and set a permanent password on any machine you want to reach without someone sitting at the other end. That way, you can connect to your home PC from your laptop while you’re away without needing someone to approve the session.
Test the connection
On the machine you want to connect to, note the RustDesk ID shown on the main screen. On the machine you’re connecting from, enter that ID in the Control Remote Desktop box and click Connect. Enter the password and confirm the remote session opens.
For the real test, try connecting from a network outside your home. Switch your laptop to a phone’s mobile hotspot or connect from a different Wi-Fi network entirely. If the session opens without any router configuration on your end, the setup is working as intended. Both ends are reachable over Tailscale, so your home network stays locked down.

- OS
-
Windows, macOS, Linux, Android, iPhone
- Developer
-
Tailscale
Tailscale is a zero-config, VPN-based remote access tool. It’s based on the WireGuard protocol and creates peer-to-peer connections between devices, regardless of location.
A free setup that rivals paid remote desktop tools
I went with Tailscale because it solved the problem without adding recurring expenses or weakening my network’s security. The free personal tier supports up to 100 devices, which is more than enough for this use case.