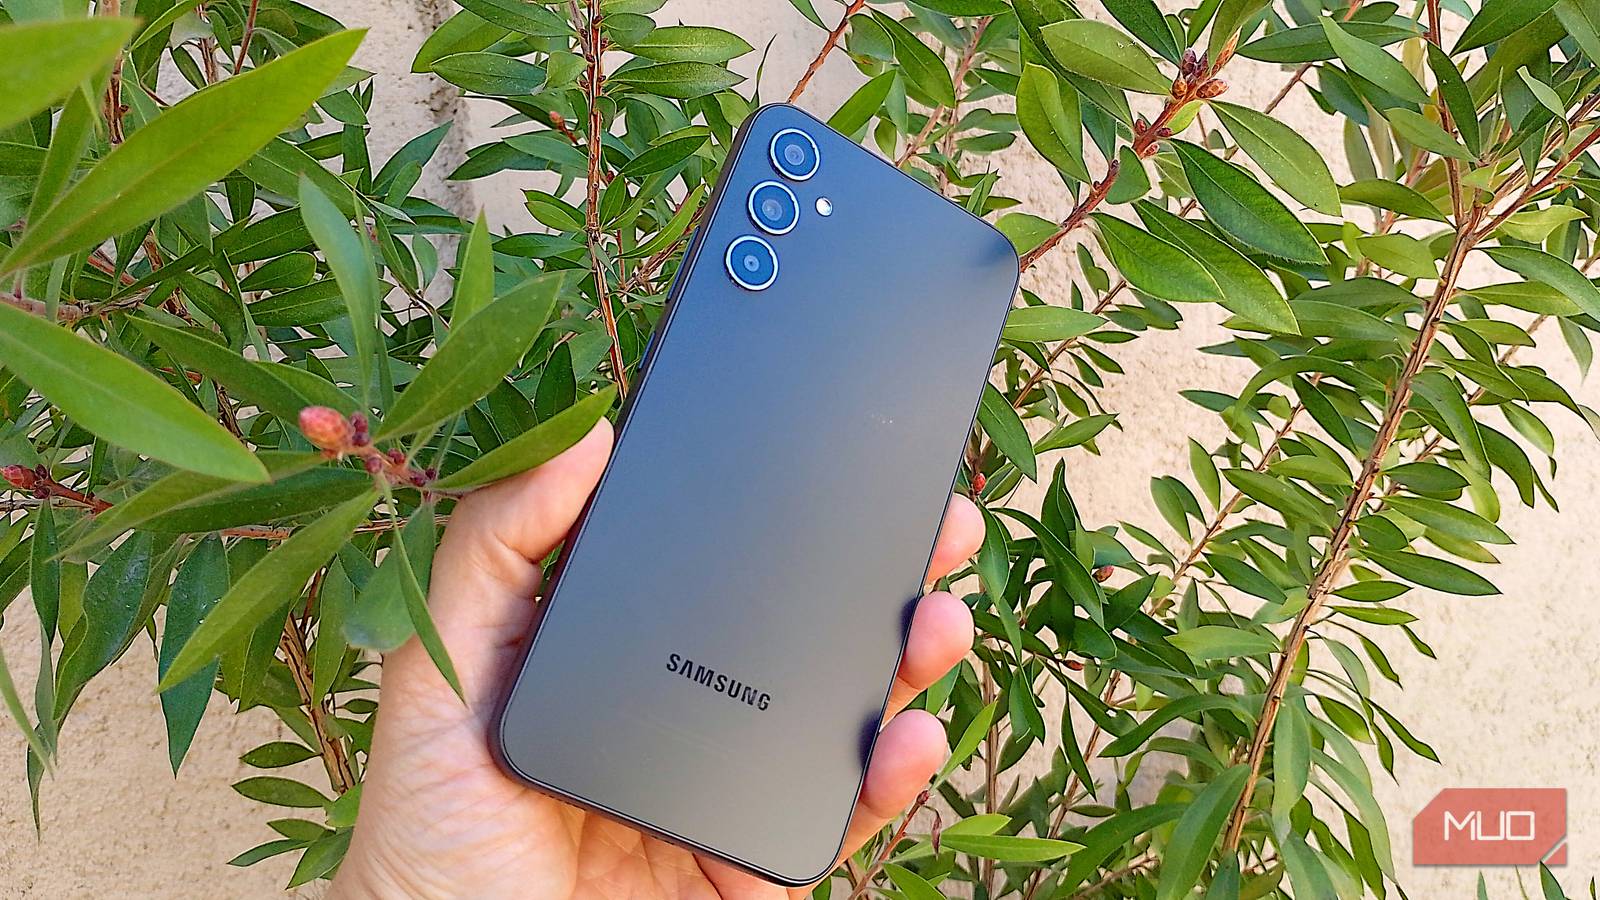
I don’t need a flagship Galaxy to take pictures I actually want to keep. I use a Galaxy A34, and a few small changes made a bigger difference than I expected. Some were camera settings I had ignored. Others were simple habits, like checking the light before I take the picture. The thing is, you don’t have to take a photography course to improve your pics, but could you be missing out on features that are sitting in your camera settings?
I save 48MP for the pictures that matter most
I use the max resolution for bright scenes and details I may want to crop later
Setting your Galaxy phone to its max resolution of 48 megapixels sounds like the right thing to do. You think the more, the better, right? But it’s not something I would do all the time. I have a Galaxy A34, and 48MP makes more sense when I’m taking pictures in good light and when the details in the scene really matter. I would use it, for example, if I were taking pictures of buildings or my dog, who I finally taught to stay still. If I’m indoors or it’s nighttime, regular Photo mode usually gives me cleaner results. Since I don’t have much storage space on my phone, I usually save 48MP for the more important pictures.
I wanted to see if taking a 48MP picture was actually worth my time. So I took two pictures of the same building across the street, one in regular Photo mode and the other at 48MP. I have to admit, I didn’t see much of a difference at first. Both pictures looked great. Then I realized I hadn’t zoomed in on the building’s windows. When I did, I could see that the 48MP photo kept the finer details clearer, while the picture in regular mode looked a little soft. I wouldn’t recommend using the 48MP option for every picture you take; try saving it for the pics that matter most.
The grid stopped me from guessing where things would go
I use the nine boxes instead of automatically centering everything

Before using grids on my Galaxy phone, I would just make sure the subject was centered and that the part of the background I wanted was near it. The nine boxes of the grid showed me that I was missing out on taking more artistic pictures and not getting the most out of my pics.
To get the most out of the grid, try using the rule of thirds. Try placing your main subject along one of the lines or where two lines cross, rather than always in the center. If you’re taking a picture of a building or a horizon, try lining up the horizon with one of the horizontal grid lines (often the top or bottom third).
If your picture includes symmetrical scenes such as corridors, bridges, or reflections, center the key element in the middle section of the grid and make sure both sides match along the side lines. For the best possible portraits, you can align the person’s eyes near the top horizontal line and their face near a vertical line to achieve a natural look.
Get clearer pictures with Night mode
Keep your phone steady for the best possible results

All the pictures you take obviously won’t be taken during the day. That’s where Night mode comes in. This option lets you take brighter, more detailed photos without having to use the flash. You should notice better exposure, and it also pulls more detail from shadows so your friends’ faces and textures don’t disappear in the dark. You’ll notice richer colors since Samsung’s Nightography is designed to improve color and contrast in low light, so scenes look natural rather than flat or overly yellow/orange.
By switching to Night mode, your pics can get sharper edges, even if you’re taking a picture indoors or on a poorly lit street. Using this feature can also reduce how grainy your pictures look. Also, don’t immediately lower your phone after taking the picture since Night mode takes a little longer to finish. Pressing the button starts the process, but that doesn’t mean it’s done taking the picture. If the subject is too far away, move closer, if possible, since staying at 1x instead of zooming preserves more detail.
I make sure the light is in front of me
Even bright daylight can leave everyone’s faces looking dark

I love taking pictures, and many times when I’ve had the light source behind me, I’ve had to make an about-face. When the light source is behind you, it causes a backlighting effect. In this type of picture, you’ll get a bright background but a dark subject. It’s even possible to get a silhouette effect.
When that happens, I move just enough so the sun is right in front of me or slightly off to one side before I take the picture. That way, the light falls on everyone’s faces without forcing the entire group to move somewhere else, and I don’t end up with a bright background and a dark subject. I don’t mean everyone has to look directly at the sun, only that you should have as much light as possible in front of you. That usually saves me from having to brighten the image afterward.
Food mode makes the colors in my meals look richer
The colors stand out more, but I still change the angle depending on the food
I’ve used Food mode on my Galaxy A34 enough times to notice the colors look richer than in regular Photo mode. There’s a real before-and-after effect when I use it, since it helps the picture look less flat. Samsung says Food mode automatically adjusts the colors to make the food look more vibrant. When I use it, I see a highlighted area over my food, and I can adjust, move, or resize it simply by dragging.
Try not to use one angle for everything. If I’m taking a picture of pizza, fried food, or a full plate, I usually start from above. Samsung recommends moving around until you find the best angle and says shooting from above is a good fallback when you’re not sure where to start. You can also adjust the color temperature if the colors don’t look quite right. In Food mode, tap the four dots on your screen, followed by the thermometer icon. You should see a slider with blue on the left and red on the right. Adjust the slider until it’s just right for what you want.
Your next good picture might be one small change away
An expensive phone is not necessary to take good pictures. You just have to make some adjustments here and there, and you’re good to go. Your Galaxy phone offers plenty of features to help you get the results you want. So, now that you know what to do, grab your phone and start taking those great pictures.